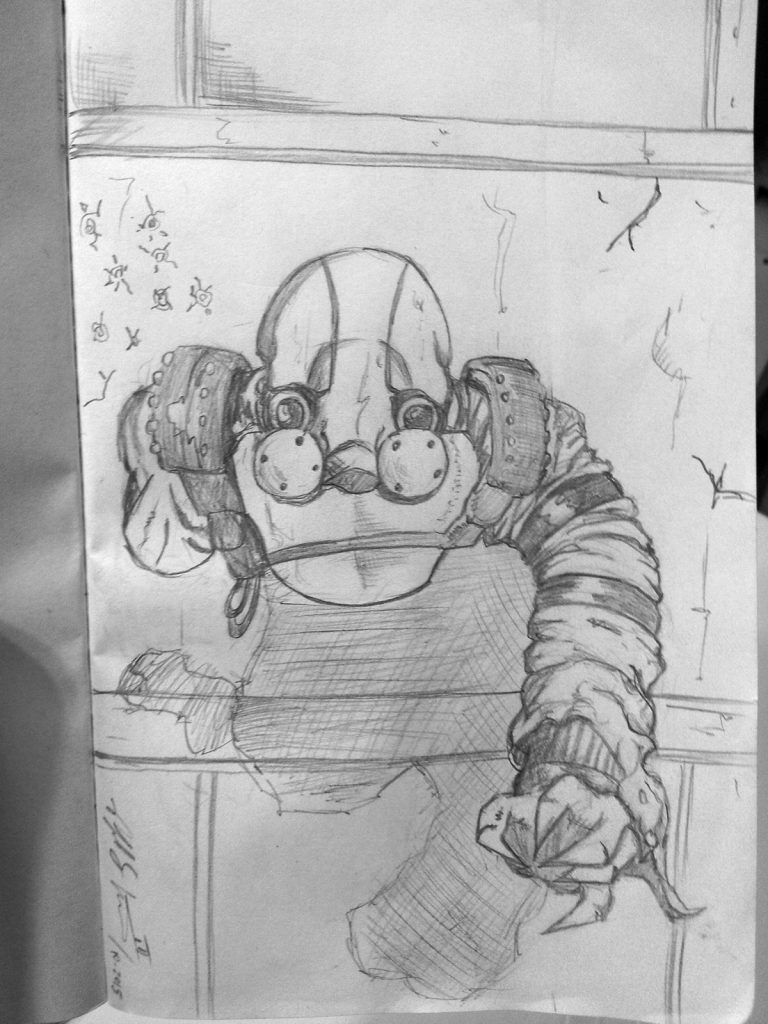
Drawlloween Day Three – Goblin
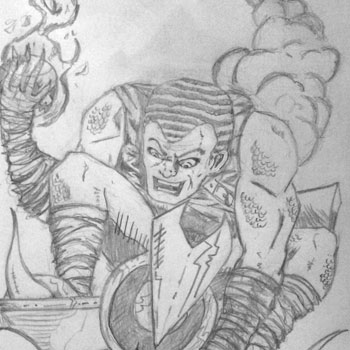
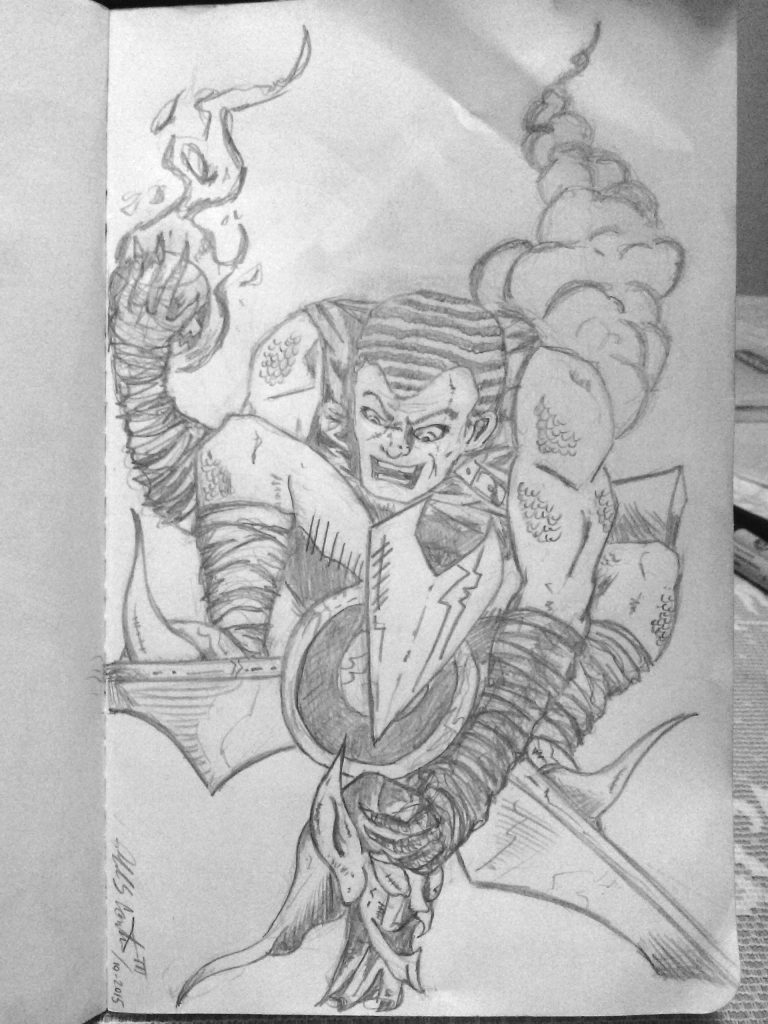
Here’s my day three drawing of a Goblin. Again for this challenge, all my drawings will be comic book-based. So here’s the Green Goblin unmasked. Norman Osborn Spider-Man’s original arch-enemy. The badest of the bad
Ralph's Art Blog
Here’s my day three drawing of a Goblin. Again for this challenge, all my drawings will be comic book-based. So here’s the Green Goblin unmasked. Norman Osborn Spider-Man’s original arch-enemy. The badest of the bad
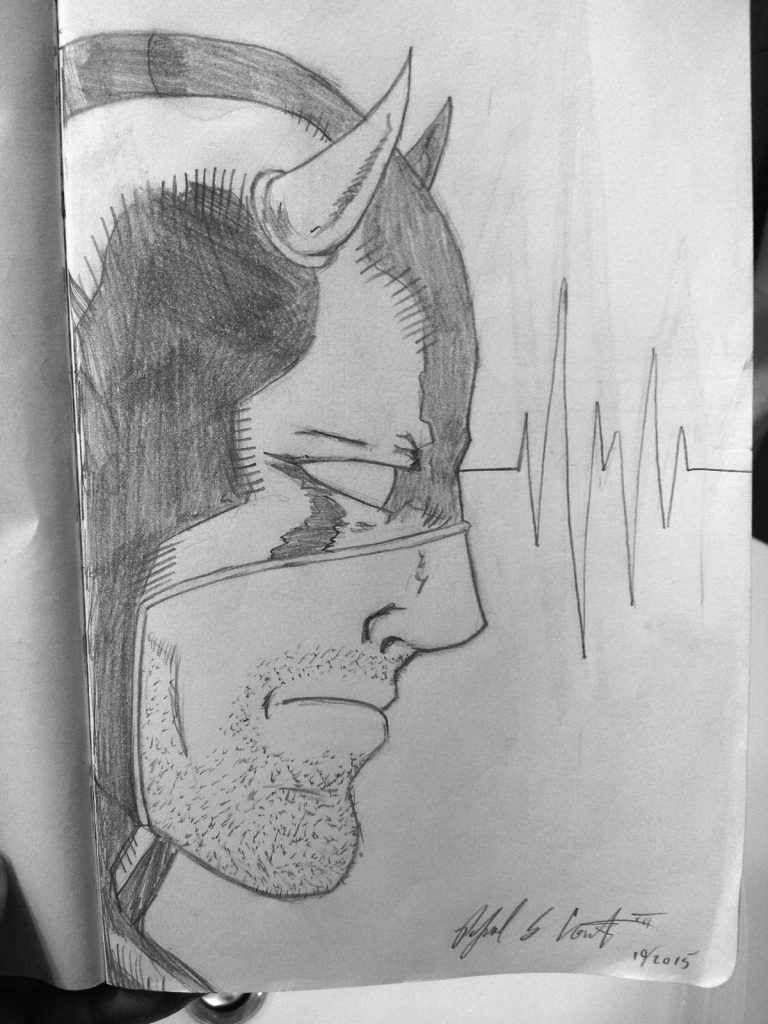
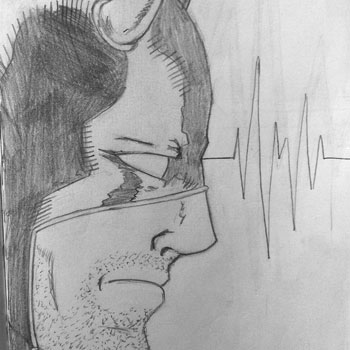
Here’s my day two drawing of a Devil….. Daredevil to be exact. For this challenge, all my drawings will be comic-based. Daredevil was the first character to pop into my mind for Devil. If you get a chance to read the latest Daredevil series written by Mark Waid, it’s fun. The Daredevil I drew is more the Marvel Knights version.
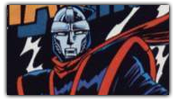
Here’s my day one drawing of a Ghost. This Ghost is the Marvel Comic tech villain. Originally an Iron Man adversary, he’s now a member of the Thunderbolts. Had fun drawing him.
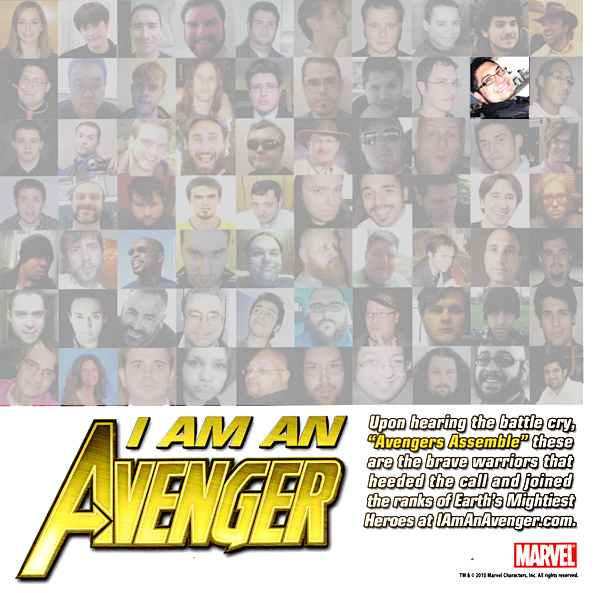
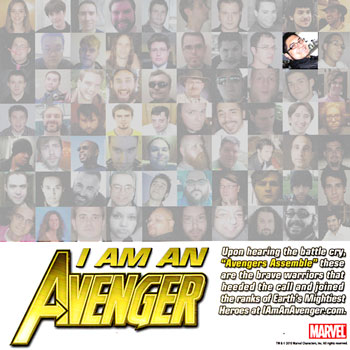
Cool! I Am A Secret Avenger! A few months ago with countless other comic fans, I entered a contest to join the Avengers. PaZow, I won! I was one of the few chosen. The photo I sent was put in the first issue of the new Secret Avengers comic.
The ad with all the winners had this cool tagline “Upon hearing the battle cry, “Avengers Assemble” these are the brave warriors that heeded the call and joined the ranks of Earths Mightiest Heroes at IAmAnAvenger.com” This was especially cool for me, not just because I huge comic nerd. But because the first comic I read when I discovered comics was an Avenger comic. So if you can find an issue of Secret Avengers #1, make sure to check out me and the other honorary Avengers.
I’m proud to be an Avenger!
This blog post was originally published on my other website Comic Book Graphic Design and has now been migrated here to RSC Arts, Ralph’s Art Blog.
I’ve decided to do a quick pencil drawing every few days. What better way than to draw on a Sketch Card? It gives me the opportunity to practice drawing different characters, and it’s also fun! Sketch cards are the size of collectible cards. They’ve become very popular in the past few years.
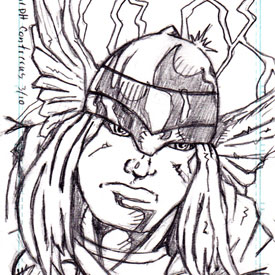
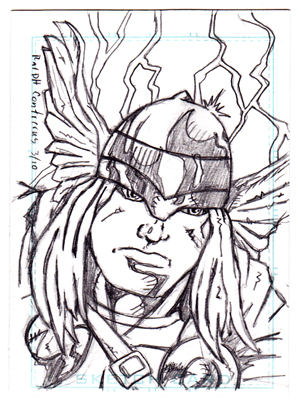
For this sketch card, I decided to continue with the Heroic Age theme and draw another Avenger. So I penciled a quick sketch of Thor. It’s cool because the Thor movie is being filmed here in Santa Fe. I even tried out to be an extra in the film. No callback, but it was still fun. This drawing took me about 18 minutes. I used an HB .05 mechanical pencil. I had fun with this sketch card. More sketches to come…Shazam!
This blog post was originally published on my other website Comic Book Graphic Design and has now been migrated here to RSC Arts, Ralph’s Art Blog.
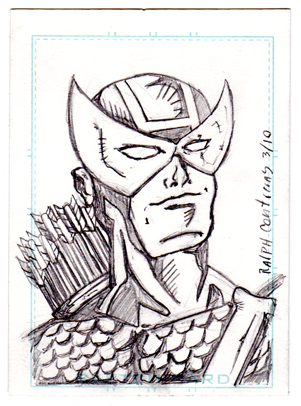
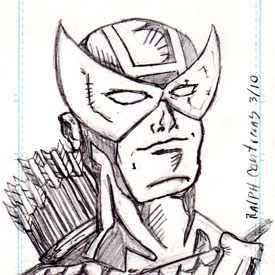
A few months ago I ordered some cool sketch cards online. These were trading card size, 2.5″ x 3″ Bristol board paper. Well, I finally got around to actually drawing on one last night. In the middle of cleaning my apartment, I was struck with the inspiration to draw. So I reached over and grabbed a loose sketch card.
The Avengers have been in the news lately with their Heroic Age reboot. So I thought, “Hey, I’ll draw Hawkeye“. So here’s my quick sketch of Hawkeye. I did this in about 15 minutes with an HB .05 mechanical pencil. I tried to keep it loose, but add shadows and highlights. I’m really happy with this drawing. I will definitely be doing more sketch card drawings.
This blog post was originally published on my other website Comic Book Graphic Design and has now been migrated here to RSC Arts, Ralph’s Art Blog.

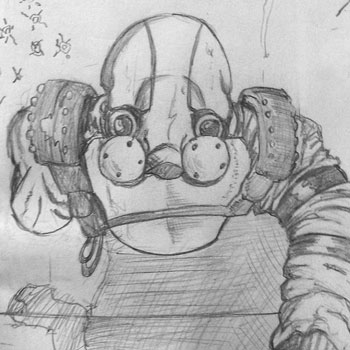
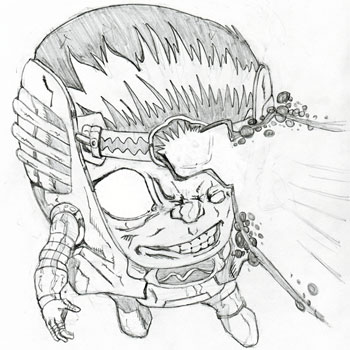
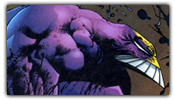
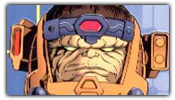
The Daily Comic Sketch Challenge! Here’s the 4th quick 30-minute daily sketch. This drawing was done on Friday, October 9th of Modok (Mobile Organism Designed Only for Killing) from Marvel Comics. I took one day off the challenge, but came back with a really fun sketch!
The last sketch I did of the Enchantress didn’t come out as well as I’d hoped, she came out a little too stiff. So for this one, I decided not to get to stressed and just had fun with it. This was actually the sketch I’d been looking forward to drawing the most. I worked with an H2 drafting pencil and a simple eraser. Started off with very loose lines and added details along the way. To be honest, this drawing took a little longer than 30 minutes, it took me about 45. But I think that’s ok. My goal with this exercise is to help in speeding my drawing but also to loosen up.
When I started reading comics it was Marvel comics. So I totally knew and have read comics with Modok. Modok’s just a supergiant head on a hover chair, that’s fun and cool. I didn’t realize there was such a fanbase for the character. I found numerous websites dedicated to him and Marvel Comics even has an official Modok blog. When Marvel created a new Super-Villain Team-Up limited series, Modok was the main character. I had lots of fun with this drawing and I think it shows. – Shazam
This blog post was originally published on my other website Comic Book Graphic Design and has now been migrated here to RSC Arts, Ralph’s Art Blog.
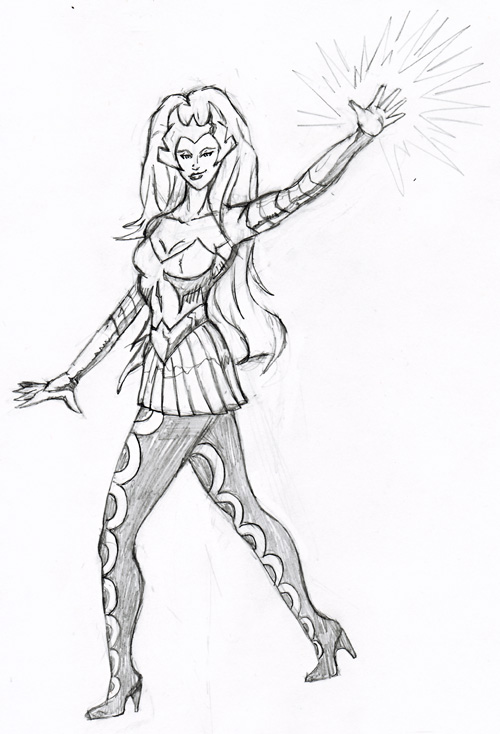
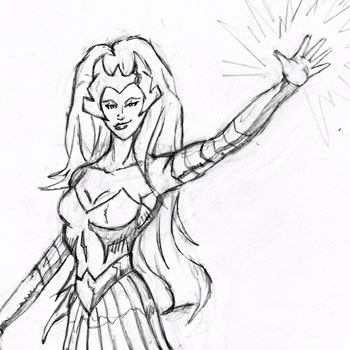
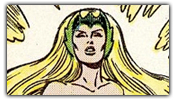
The Daily Comic Sketch Challenge! Here’s the 3rd quick 30-minute daily sketch. This drawing was done on Wednesday, October 7th of Amora The Enchantress from Marvel Comics.
This sketch was very challenging for me. It took me a little longer than my allowed 30 minutes, about 45. I started with a real rough sketch using an H2 drafting pencil. I was trying to give her a soft look, but I think she actually looks a little stiff. This is why I’m doing this daily exercise. To help me get a loose and softer drawing style. I find that there is stiffness in my illustrations sometimes when I work on them too much.
The enchantress was one of the first female characters I read in comics. The second comic I ever read was Marvel Super Heroes: Secret Wars, but it was the 1st series I actively read. I remember hitting all the gas stations looking for the latest issue. So it was fun drawing a character I’ve been familiar with most of my comic reading and drawing life.
This blog post was originally published on my other website Comic Book Graphic Design and has now been migrated here to RSC Arts, Ralph’s Art Blog.
I’ve decided to give myself daily exercise to help in my drawing skills. I call it The Daily Comic Sketch Challenge. This next week I will be doing a quick drawing for only 30 minutes. These drawings will be of random comic book characters. Not only will I get to draw some different characters, but it will help in sharpening my drawing skills.
1. Monday: Manhunter IV (Marc Shaw) Monday: Manhunter IV (Marc Shaw) |
2. Tuesday: The Maxx Tuesday: The Maxx |
3. Wednesday: Enchantress (Marvel) Wednesday: Enchantress (Marvel) |
4. Thursday: Modok Thursday: Modok |
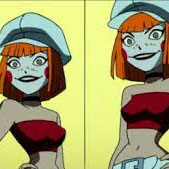
5.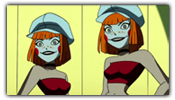 Friday: Dee-Dee twins (Batman Beyond) Friday: Dee-Dee twins (Batman Beyond) |
Last week I asked for suggestions through my Twitter and DeviantArt accounts on who I should draw. I received a lot of great ideas. Here is a list of which characters I will be drawing this 1st week.
I’ll be posting a new Daily Comic Sketch every day. If you have any suggestions on who I should draw next, please let me know. – SHAZAM!
This blog post was originally published on my other website Comic Book Graphic Design and has now been migrated here to RSC Arts, Ralph’s Art Blog.
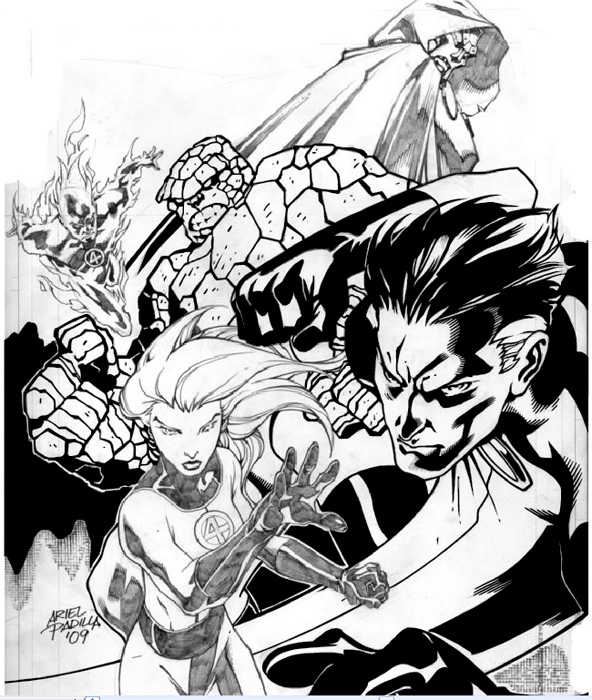
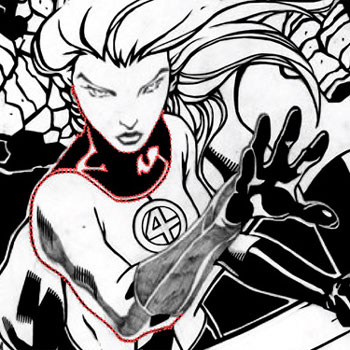
I’ve received several requests to show the steps I used to create my digital inking of the Fantastic Four pin-up I did of artist Ariel Padilla’s pencils. I was looking for some art to ink and found the pencils on his DeviantArt page. This was a practice exercise I gave myself in the inking process of comic book art using Adobe Illustrator. I’ve been a graphic designer for over 9 years but this was the first time I used my design knowledge for comic book inking.
For this self-assignment, I decided to use Adobe Illustrator for inking the pin-up. I had used photoshop for a previous piece earlier I did of Batman 2.0, a character redesign. I had fun with that illustration but this time I wanted to do this digital inking in vector format. Why choose vector verse bitmap? Well, a vector image is made up of anchor points that are connected by paths (lines) that connect them. A vector image can be re-sized without loss of quality to the illustration. So basically you can re-size the image as small or as large as you’d like without pixelation, it will keep its sharpness no matter the size. Which is really neat.
For this illustration, I choose to use my anchor points to create only straight paths (lines). I didn’t use any curved lines. The cool thing about using anchor points and paths is that you can make curved paths, resulting in fewer points This is shown in Points & Paths: Example 2. So why didn’t I use curve paths? Well, honestly it was a self-exercise to see if I could do it. I wanted to create curved lines through straight lines. I found it to be a fun challenge.
I did not create lines or outlines of the original pencils. What I did was look at each line as a shape. I could have easily used the brush tool in Illustrator, but I found I actually had more control over what I wanted to achieve by using the pen tool.
With the technique, I like to use anchor points and paths I am able to get a type of jagged smooth shape. The strength of anchor points is you can use as many or as few points as you’d like to create your lines or shapes. I’ve illustrated this in Points & Paths: Example 3.

After I created the shape from the pencils, I colored it in black. I’ve shown this in Points & Paths: Example 4. As you can see it’s a piece of a puzzle that makes up the inking. These shapes help to create the feel I was looking for when digitally inking this drawing. This technique really works well when inking the Thing’s rocky skin.
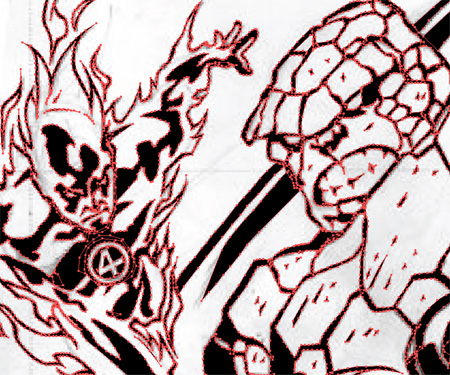
I have included more examples of the anchor points and paths technique I use in inking these pencils. In Points & Paths: Example 5, we see how the wavy fire on Human Torch can be created without using curved lines. Every anchor point in the flames helps to create the illusion of line weight, depth, and movement.
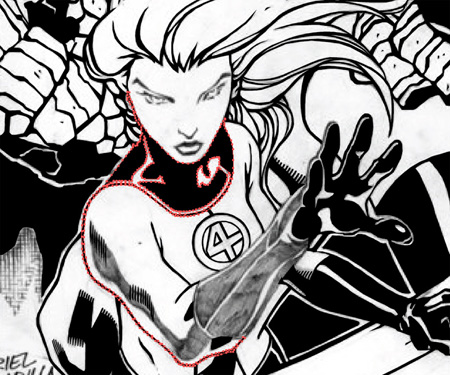
In Points & Paths: Example 6, I’ve shown how I created what looks to be a line on the Invisible Woman’s arm. It is actually a curved shape created with paths. It is a shape that includes the bottom line of her arm and the shadows around her neck. You can see her hands and the background is already colored in.
Although this technique might not seem to be the most efficient, it allows for a lot of control. Looking at each line as a shape helped me to create a type of line work I would not have achieved otherwise.

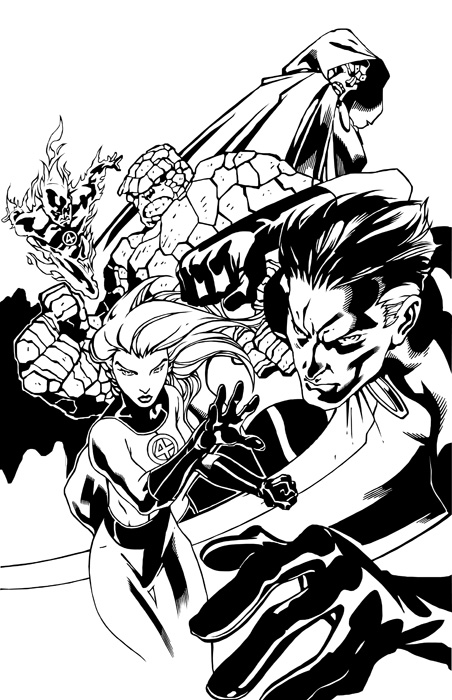
This was my first comic book digital inking using Adobe Illustrator with the anchor points and paths technique. I have done a few more since this one. Although I have used curved lines in those illustrations. This was a fun self-exercise in learning to digitally ink the work of someone else. I am very happy with the way this illustration came out, and I’ll continue to use Adobe Illustrator to digitally ink comic book pencils.
This blog post was originally published on my other website Comic Book Graphic Design and has now been migrated here to RSC Arts, Ralph’s Art Blog.